How it works
Collect status in six steps — you stay in charge
PingCadence automates the chasing, not the decisions.
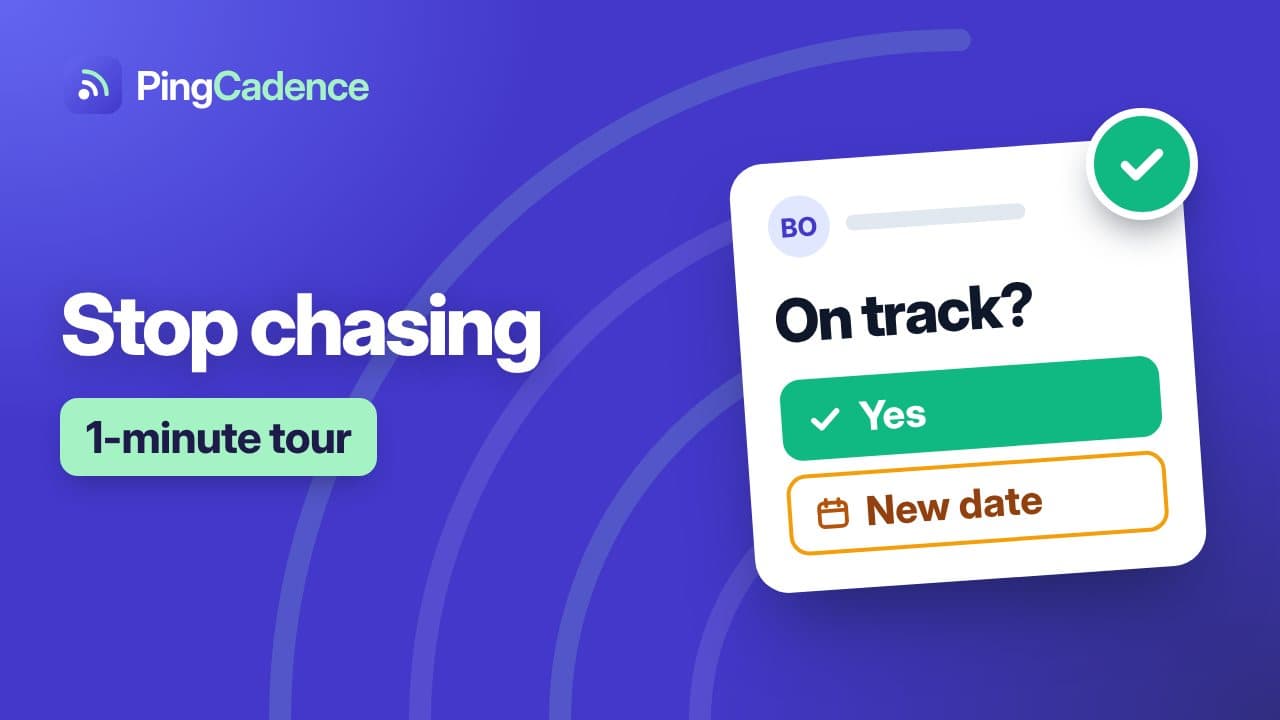
PingCadence in about a minute · 1:07 · How-to videos for each tool
1. Import your plan
Connect monday.com, Asana, Jira, Trello, ClickUp or Wrike, or upload an Excel, CSV or Microsoft Project file. PingCadence reads each task's name, owner, start date and end date and stores the baseline.
2. Set a schedule
Choose weekly, every 2, 3 or 4 weeks, or monthly, plus the days, the time and your time zone. Each cycle PingCadence refreshes the plan and drafts a batch of check-ins. You can also turn on automatic reminders for people who haven't answered.
3. Review and approve the batch
Open the draft, edit recipients, add up to three extra questions per person, then approve. Nothing is sent before you do, unless you turn on automatic sending for that plan.
4. Owners respond
Each owner opens a private link, sees the baseline start, end and duration, and picks on track, hard to say or not on track. If not on track they propose a new start, end or duration.
5. Decide on changes
Apply the proposed dates to your tracker, edit them manually, or reject. PingCadence never edits your timeline on its own.
6. Generate a report
Create a status report at any time covering every task, status, proposed changes, non-responders and comments.
What the respondent sees
A single mobile-friendly page: the task name, the planned start, end and duration, three status buttons, an optional comment and — only when they pick not on track — fields for their own new dates. No account required.
What you control
- Every send is gated by your approval.
- Every date change needs your explicit apply, manual edit or reject.
- Emails come from your own Outlook or Gmail address (PingCadence sends on your behalf through Microsoft Graph or the Gmail API). Watch how to connect it (about a minute).